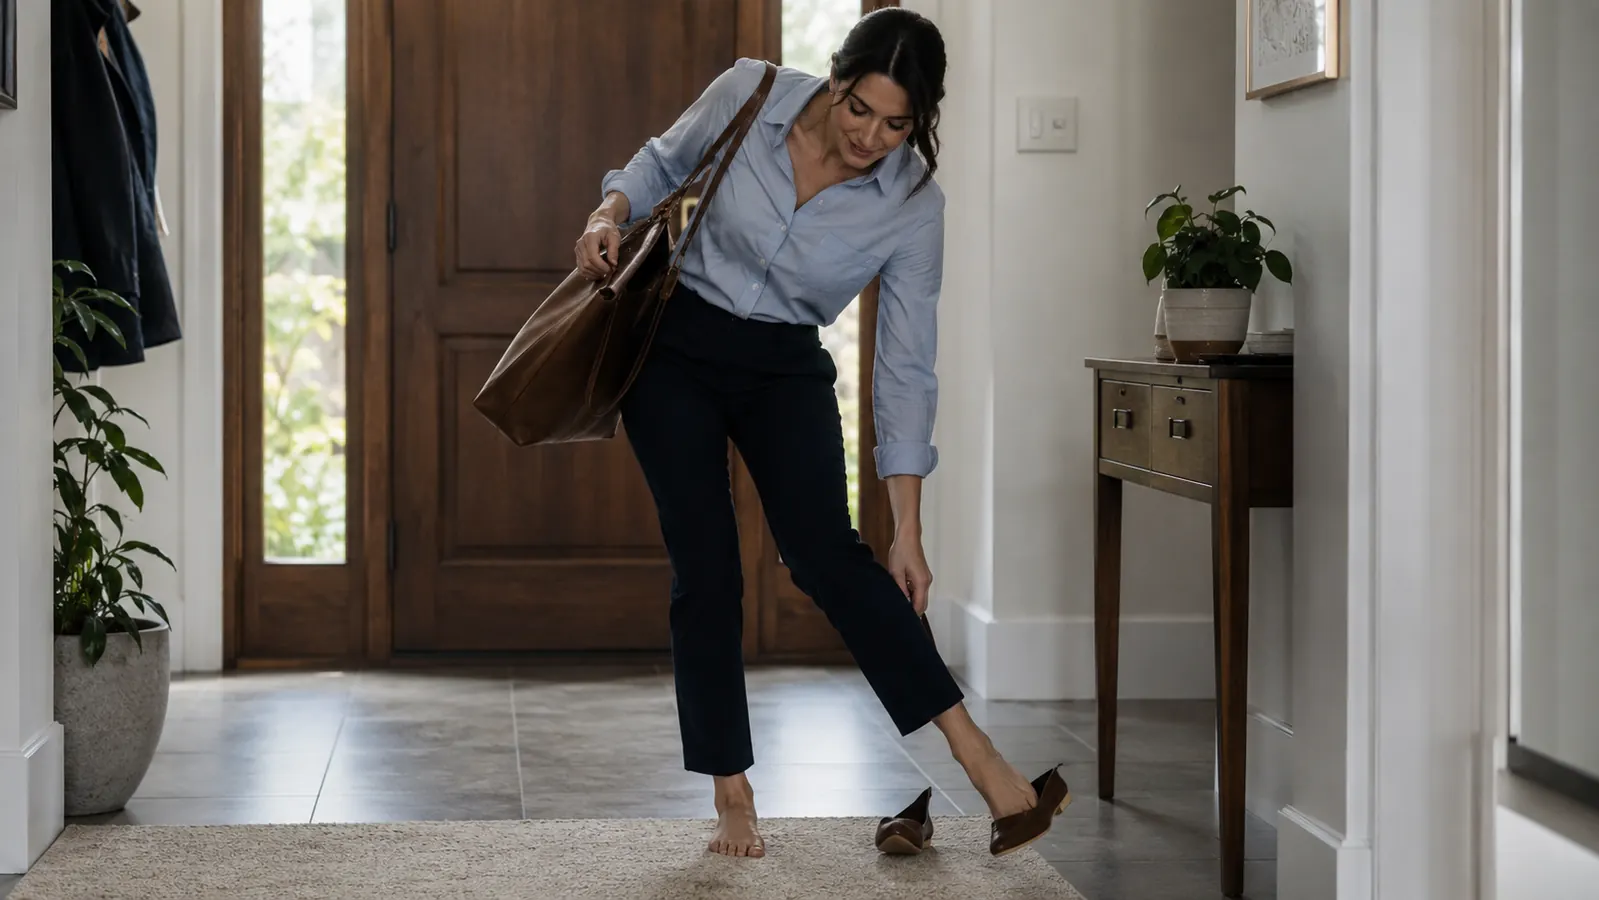
By the time I get home most evenings, I have logged somewhere between four and seven miles walking through houses. I have hauled a double stroller through a showing, stood on concrete floors at a contractor walkthrough, and driven forty-five minutes home with my right leg cramping the whole way. My feet do not hurt in a gentle, tired way. They hurt in a I-might-cry-if-I-take-my-shoes-off way.
I tried soaking my feet. I tried stretching more. I tried those expensive gel insoles that promised everything and delivered nothing. What actually made a difference was learning how to use a massage gun correctly. Not just turning it on and pressing it somewhere and hoping for the best, which is what I did the first two weeks I owned one. There is a right sequence, there are right settings, and once I figured it out, I went from dreading the end of the day to actually being able to walk normally through the evening with my kids.
The Opove M3 Pro 2 is the massage gun I use and recommend. It has a 4.7-star rating from over 20,000 reviews, and the battery genuinely lasts four to eight hours, which matters when you are charging it on Monday and forgetting about it until Thursday. It is also quiet enough that I can use it while watching a show without waking anyone up. But the tool is only half the story. The routine is the other half, and that is what this article is about.
Your calves called. They want you to own one of these.
The Opove M3 Pro 2 has six speed settings, six attachment heads, and a battery that outlasts any busy week. Rated 4.7 stars by more than 20,000 buyers. Check today's price before you keep reading, then come back for the routine.
Amazon Check Today's Price on Amazon →Before You Start: Two Minutes of Setup
Before you touch the massage gun to your body, do this. Find a couch, a chair, or a spot on the floor where you can actually relax. Get a glass of water. The percussion motion breaks up tension in the muscle tissue and that releases metabolic waste your body needs to clear, and the fastest way to do that is to be hydrated. I always drink eight ounces before I start. This is not biohacker stuff, it is just how muscle recovery works.
Also, check your attachment head. For tired feet and calves after a long day of walking, you want the round ball head, not the flat head or the fork. The ball distributes pressure across a wider surface and is gentler on the sole of the foot and on the belly of the calf muscle. The flat head and bullet tip are better for deeper, targeted work on specific knots, and you want to earn your way into those over a few weeks. Start with the ball.
Step 1: Start With Your Feet (2 Minutes)
Set the Opove to speed level 2, which on this gun is around 1800 percussions per minute. That is the sweet spot for initial work on foot tissue. Press the ball attachment gently into the arch of your foot and move it in slow, overlapping circles. Do not hold it still in one spot for more than three seconds or you will end up with a bruised feeling rather than relief. Keep it moving.
Work from the heel pad forward through the arch and then to the ball of the foot. Spend about 45 seconds per foot. Then angle the gun slightly and run it along the outer edge and inner edge of the sole. A lot of foot pain from standing and walking comes from the plantar fascia and the small muscles along the arch, and this first step is about warming them up, not crushing them. If anything hurts sharply, ease off or skip that spot.
I do this sitting in my kitchen chair right after I come in from showings. My youngest is usually in the high chair at this point and I tell her I am doing my foot massage, which she finds very entertaining. It takes two minutes and it is the difference between me limping through dinner and functioning like a normal person.
Step 2: Move Up to the Calves (3 Minutes)
The calf is where most of the day's tension lives after hours on your feet. The gastrocnemius muscle, the big one at the back of the lower leg, shortens and tightens every time you walk, climb stairs, or stand in heels. When it stays tight for eight hours straight, it pulls on the Achilles and the plantar fascia and you get that full-leg exhaustion feeling that is actually mostly coming from your calves.
Keep the gun on level 2 or bump it to level 3 if your calves feel very tight. Place the ball head against the lower calf, just above the ankle, and move slowly upward toward the back of the knee. Do not go over the knee itself. Spend about 30 seconds on the inner part of the calf, 30 seconds on the outer part, and 30 seconds on the center. That is 90 seconds per leg. Then switch sides.
If you find a specific spot that is especially tender, pause and hold very light pressure there for five seconds, then continue moving. The Opove M3 Pro 2 has a stall force high enough that it will not cut out when you hit a tough knot, which is one of the things that makes it worth the investment over cheaper guns that stall when you actually need them to work.

Step 3: Work the Hamstrings and Back of the Thighs (2-3 Minutes)
Here is the step most people skip. They do their feet, they do their calves, and they call it done. But if you have been walking and standing for hours, your hamstrings have been holding tension the whole time too. They run from the back of your knee up to the base of your glute, and when they are tight they contribute to lower back ache, that dragging feeling in your legs, and a hip flexor that feels locked in the morning.
Sit on the edge of a chair or couch with your leg extended in front of you. Run the ball attachment along the back of the thigh from the knee upward toward the crease at the bottom of the glute. Keep the motion slow and continuous. Level 2 is plenty here. Spend 45 seconds on each leg. You are not trying to dig deep into the hamstring, you are just restoring circulation and loosening the surface tissue before bed.
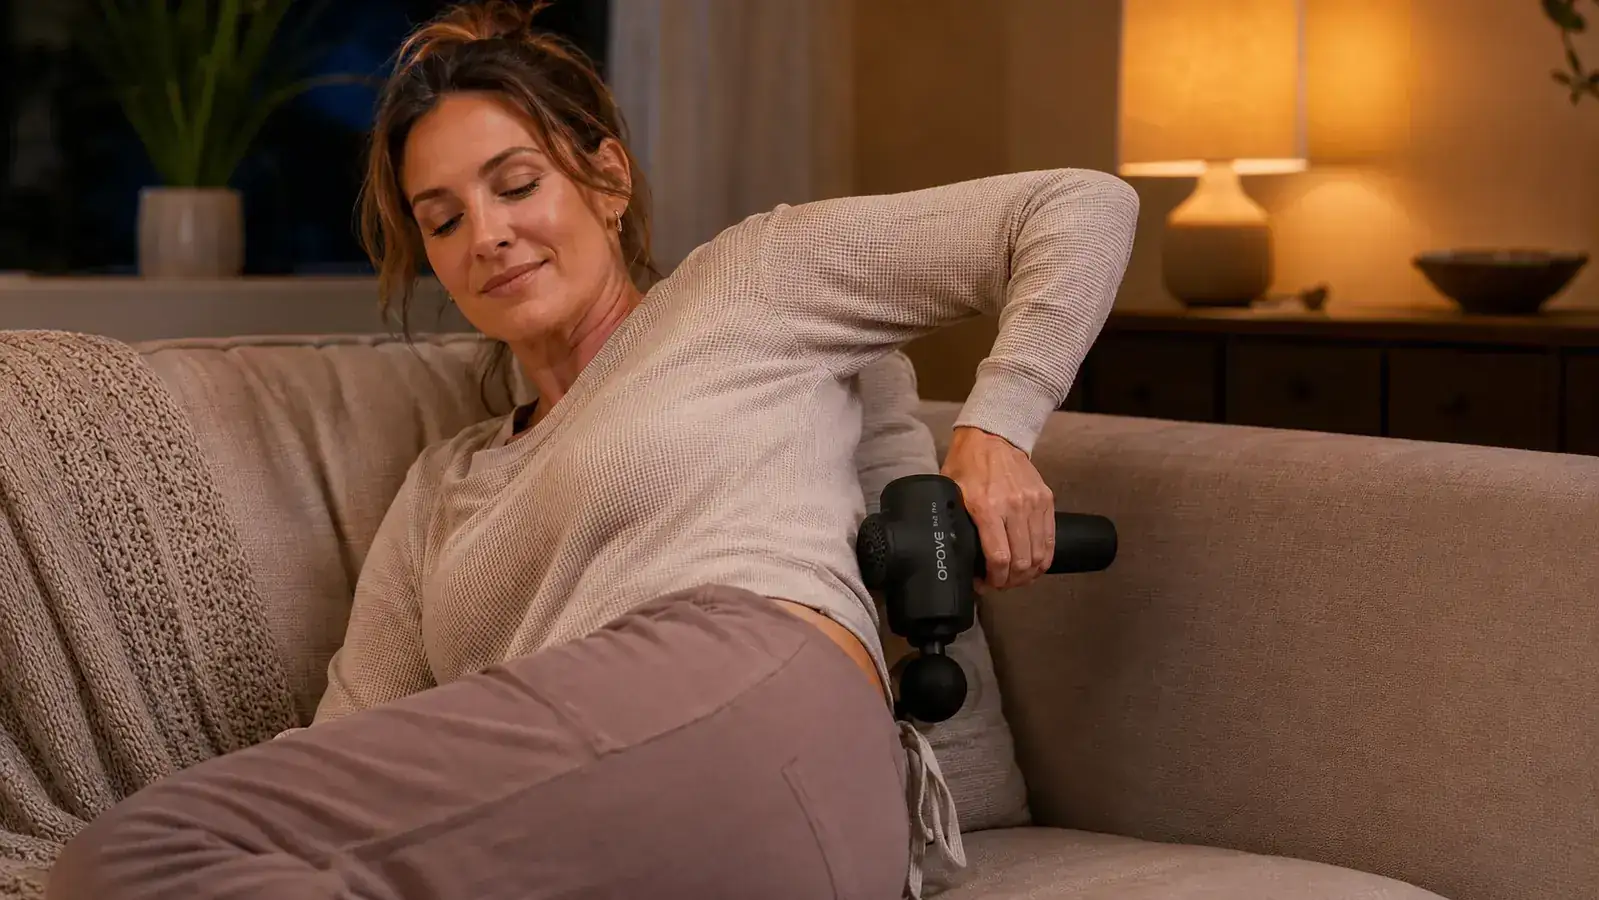
Step 4: Glutes and Hip Area (2 Minutes)
I know this sounds like a lot but stay with me because this step is the one that changed my lower back situation. The glute muscles, particularly the piriformis and the gluteus medius, take a beating when you are on your feet all day. They are the shock absorbers between your lower spine and your legs, and when they get tight they can cause that aching feeling in the lower back and hips that you assume is a back problem but is actually a hip problem.
Sit on a firm surface with the gun set to level 2 or 3. Place the ball head on the center of the glute and let the weight of the gun do most of the work. Move in a small circle for 30 seconds, then shift toward the outer hip and do another 30 seconds. The outer hip, that bony prominence on the side of your hip, is where the gluteus medius lives and it is almost always tight in people who walk a lot. Do both sides.
I do this step sitting on my bathroom floor while the kids are doing their bedtime routine. I can supervise chaos and take care of myself at the same time. That is the reality of recovery when you have six kids. You do not get a quiet spa moment. You do it sideways while someone is yelling about their pajamas.
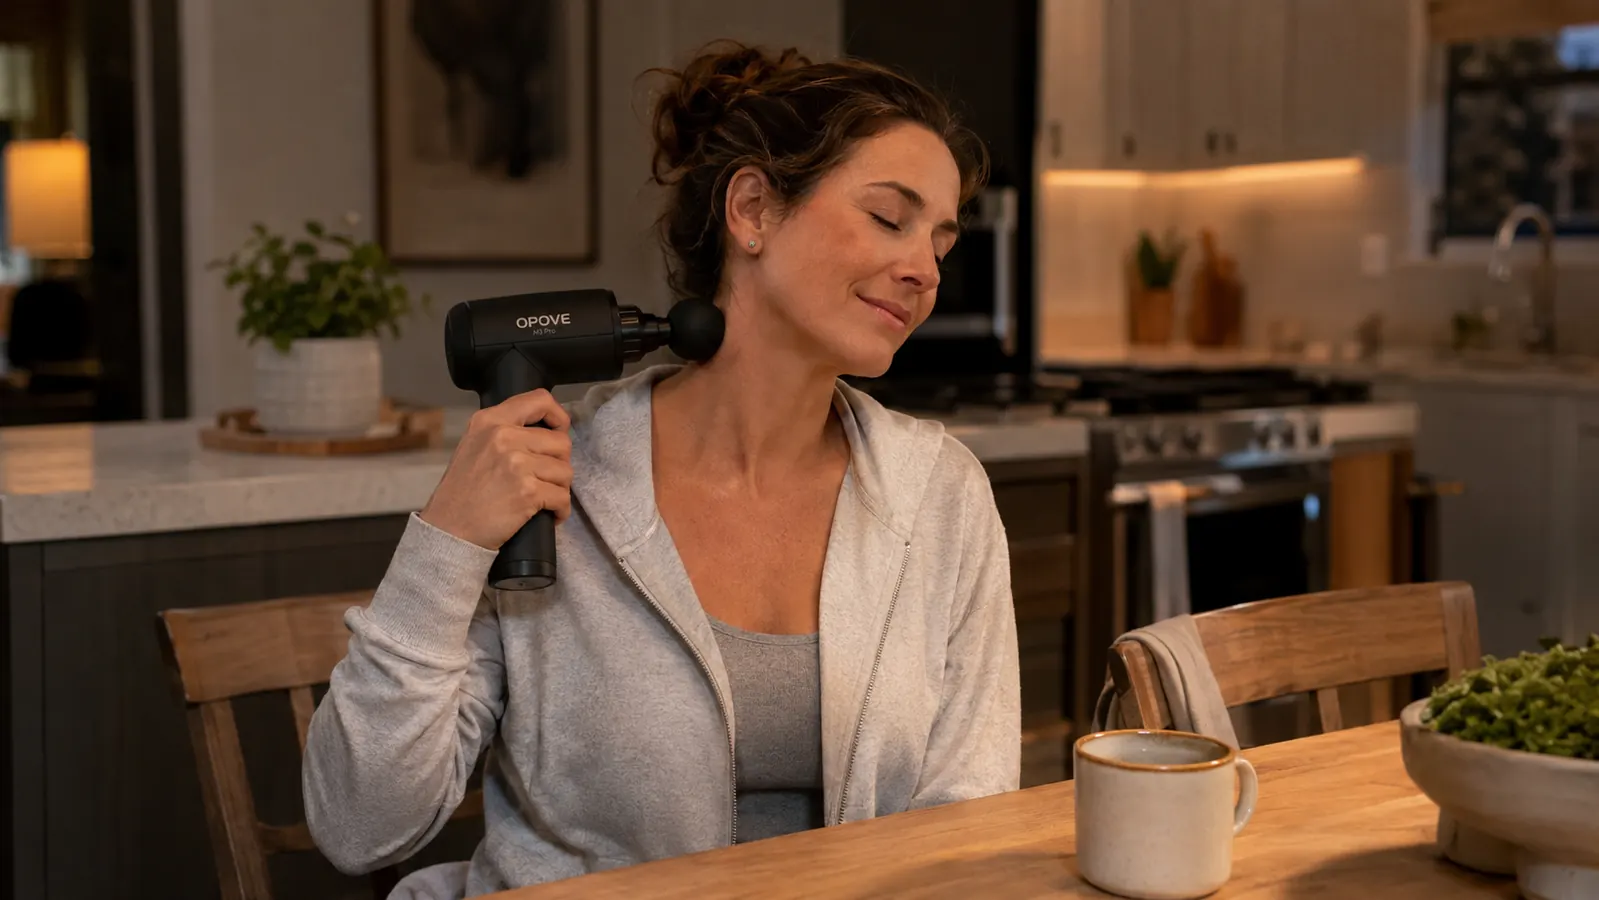
Step 5: Finish With Lower Back (2 Minutes)
Important note before this step: never use a massage gun directly over the spine. Stay at least two inches to either side. You are targeting the erector spinae muscles, the long muscles that run parallel to the spine on both sides, and the quadratus lumborum, which is the deep muscle at the side of the lower back that feels like a thick rope when it is angry.
Keep the gun on level 2. Have someone else do this step if you can, because reaching your own lower back is awkward and you want gentle, controlled pressure. If you are doing it yourself, use a mirror or just go slowly and cautiously. Run the ball head along the muscle to the right of your spine from just above the hip up to mid-back. Thirty seconds each side. Then angle the gun along the side of the hip, into that soft area between the hip bone and the bottom rib, which is where the QL muscle lives. Gentle here, ten to fifteen seconds each side.
When you finish, stand up slowly, take a moment, and drink more water. The whole routine should take between ten and fifteen minutes depending on how slowly you move through each zone. That is it. That is the routine I do three to four times a week and it is the reason I can still walk at full speed into a showing at 7pm after starting my day at 7am.
What Else Helps
The massage gun is the centerpiece but it works better when it is part of a small system. I always do two to three minutes of light walking or gentle movement before starting the routine. Your muscles respond better to percussion when they have a little blood flow in them already. Coming in from a brisk walk to the mailbox counts.
I also keep a foam roller nearby for the IT band, the fibrous tissue along the outer thigh that a massage gun cannot reach as effectively as a roller can. If my outer legs feel tight after the routine, two passes on the foam roller finishes the job. Compression socks during long showing days also reduce how much work the evening routine has to do. The less fluid accumulates in the lower legs throughout the day, the faster the massage gun session gets them back to normal.
Finally, if you want to go deeper on why percussion massage works at the muscle tissue level, I have a separate article that covers exactly that. The short version: the rapid pulses interrupt the tension-pain cycle and trigger blood flow to areas that have been compressed and restricted all day. It is not magic. It is just physics applied to tired muscles.
I went from dreading taking my shoes off to actually looking forward to the routine. Fifteen minutes on the right spots in the right order changed the whole second half of my day.
The internal links in this article point to the Opove M3 Pro 2 review, where I cover battery life, noise levels, and how it held up over three months of daily use, and to the piece on how percussion massage helps sore muscles, which gets into the mechanism if you are the type who likes to understand why something works before you commit to doing it.
Ready to actually feel better at the end of the day?
The Opove M3 Pro 2 is the massage gun I reach for every single night. Six attachments, six speeds, a battery that lasts all week, and quiet enough to use after the kids go to sleep. Over 20,000 buyers, rated 4.7 stars. Check today's price on Amazon.
Amazon Check Today's Price on Amazon →